High five machine

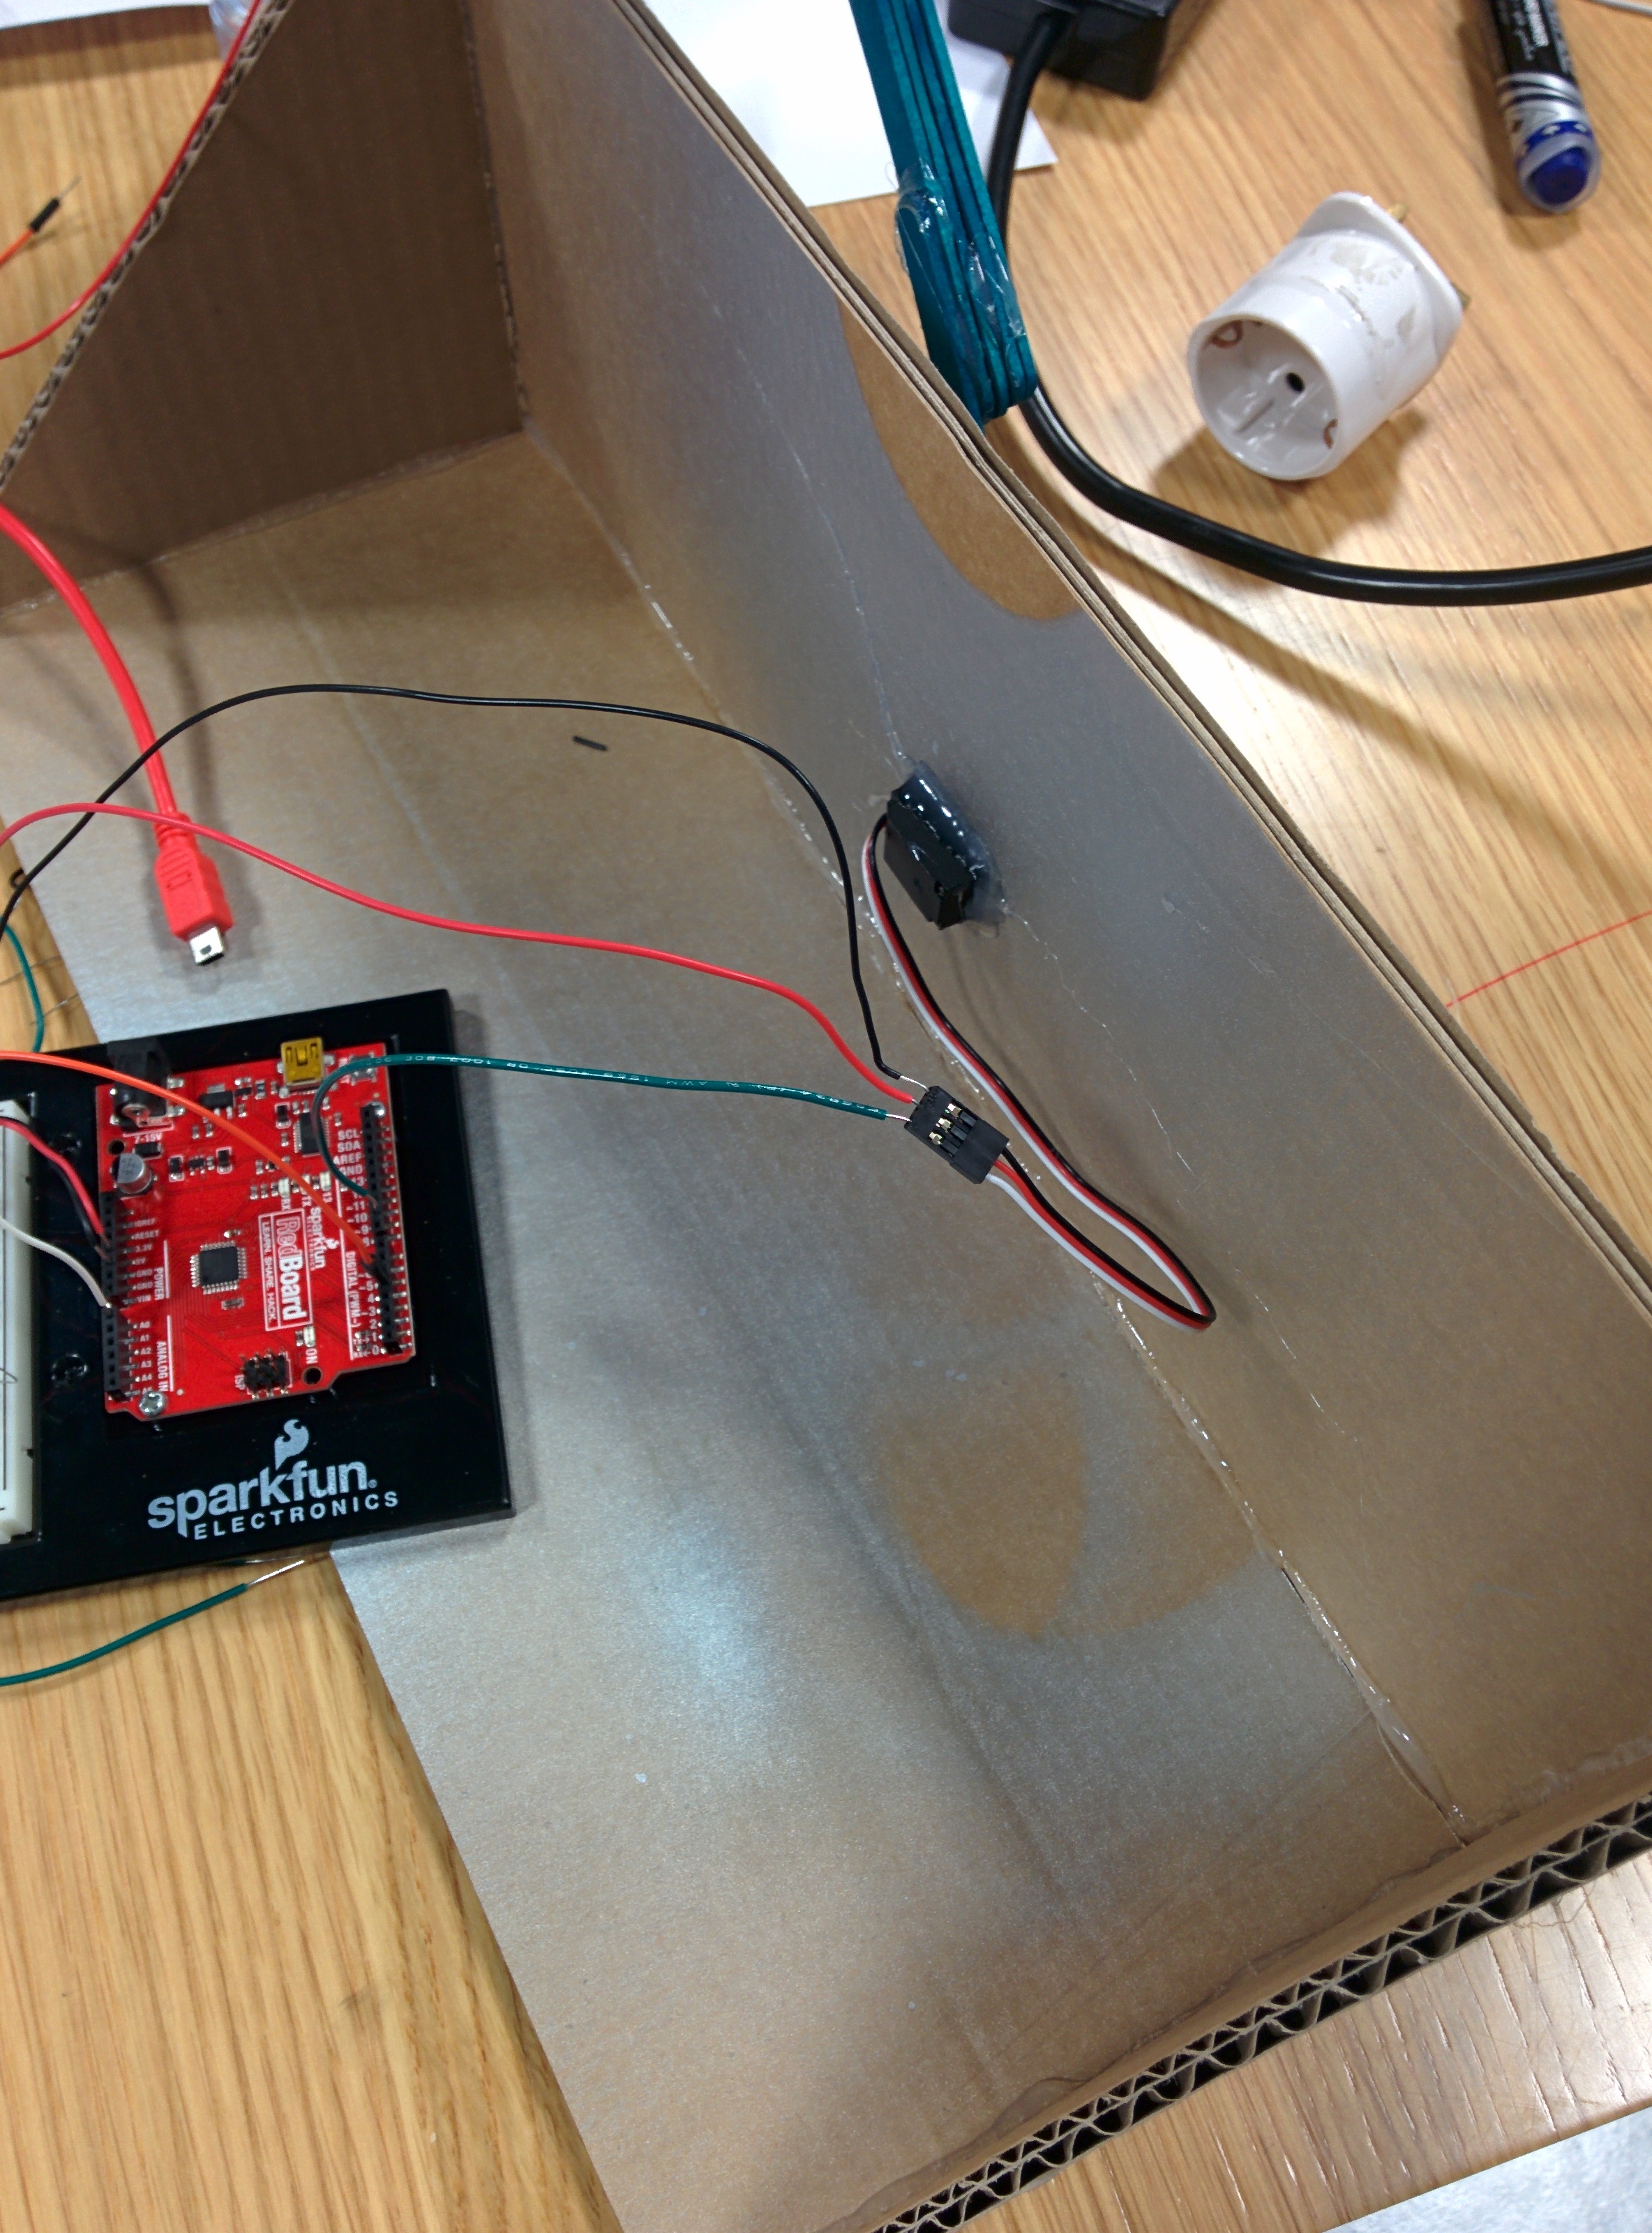
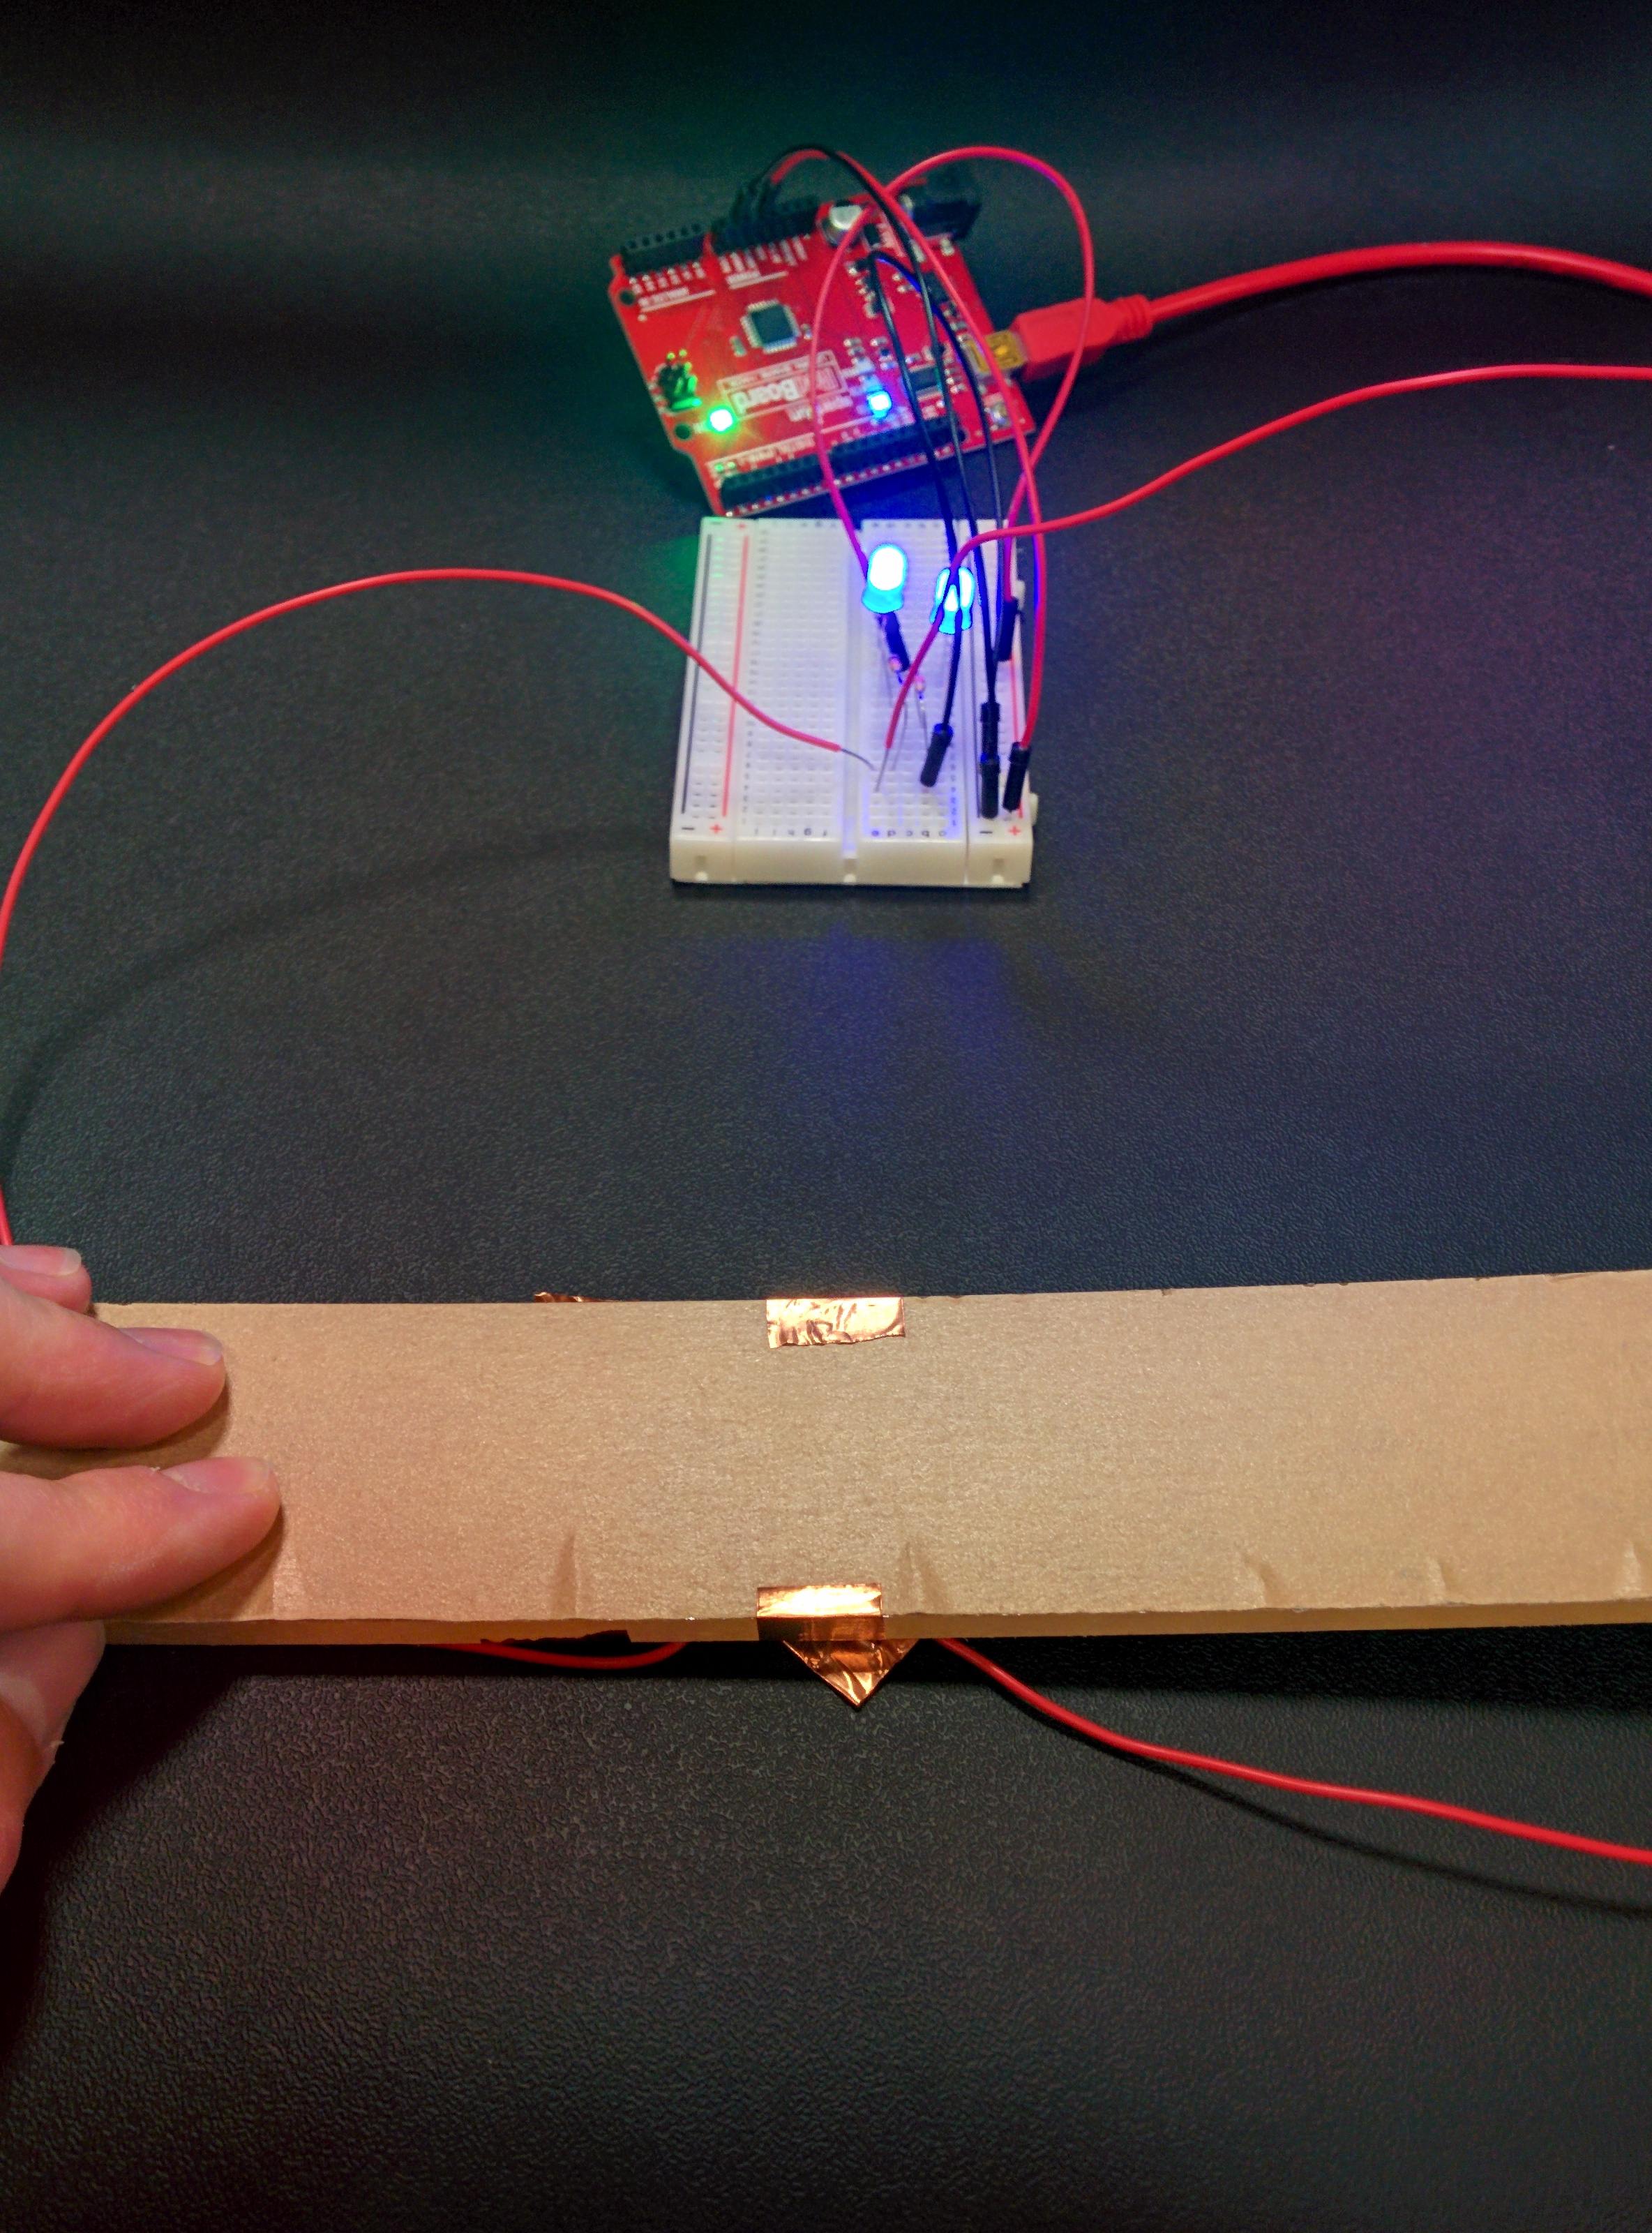
First off, I haven’t been able to get my project to work. The sonar distance sensor isn’t working as I expected, and the servomotor I’m using isn’t powerful enough to reliably throw around some popsicle sticks and cardboard. Regardless, my project was to work as follows. A user is presented with a cardboard cutout of a hand. If she were to pass her hand in front of it, the cardboard hand would rotate forward to give her a high five. Ultimately, this is pretty simple; just a servomotor and a sonar distance sensor. The way I have this setup is such that the sonar sensor is embedded in the cardboard hand. I think (and I could be wrong) that the sonar sensor readings are getting thrown off by the jittering of the servomotor. Even when it’s not being activated, the servo buzzes at a high frequency, which I think messes up the readings from the sonar sensor. Perhaps this was a good opportunity to use an infrared sensor. The end of my post has a few pictures of current (failed) setup.

I think I could make this work by taking some of the following steps. Instead of using a servo motor, I could get my act together and use a step motor with an external power supply. I think that this would prove to be the most difficult solution from a hardware and software perspective, but I think that it would probably result in the best end product. Alternatively, I could slap in a bigger servomotor such that the machine would reliable rotate the hand forward.

IMG_20151013_221532IMG_20151013_221544


Randomly blinking lights

As always, the video of my project working can be found here. My project works as follows. A user is asked to put a pulse sensor on her finger. In her other hand, she presses a button, which turns on a minimum of one light, and a maximum of four lights. Above the lights on the panel are four switches. The user is not prompted to interact with these switches, but I’ve found, at least anecdotally, that he or she almost always will. These switches load on to a master probability distribution which determines how many lights will turn on. Each switch is associated with a function that takes some parameter and the user’s current pulse rate as arguments. The master probability function is the logistic function. The switches influence the logistic functions ‘k’ parameter, changing the shape of the function. Note that as pulse increases, the chance of turning on all four lights gets increasingly close to zero. Each of the lights is turned on once a preset threshold is met. For example, if the logistic function, evaluated at some randomly chosen point was above 0.47, then the first light would turn on. The thresholds are on a bit of a log scale, such that the 1st threshold is around 0.5, the second is around 0.75, the third is around 0.9, and the fourth is around 0.99.

Upon using my project, it seems clear that at least some of the switches influence how the lights turn on, but its unclear how the switches are related. Instead of directly adding terms to the master probability distribution, the switches influence the parameter that controls the shape of the master probability distribution. This means that the effect of the switches isn’t felt as strongly as directly adding terms. Luckily for me, the logistic function and the functions associated with each switch are relatively stable. This means that a small change in input results in a correspondingly small change in output.

Troubleshooting Arduino code is a little annoying for me because it’s more difficult to see what’s going on incrementally compared to Python. As such, I prototyped my master probability function, along with all the functions that load onto it with an iPython notebook (I guess it’s called Jupyter now). I found that the best way to select appropriate parameters for the loading functions was by using iPython’s interactive plotting ability. Once I had a good idea what these were, I hard coded them in my Arduino code.

Love making machine

In my mind, love is just a matter of increasingly intense oscillatory motion until one reaches a breaking point. I don’t replicate the ‘increasingly intense’ part in my project, but I do try to replicate the oscillatory nature of love, and love making. If you can successfully make the sensor oscillate between two thresholds in a certain time, the lights will go off, providing that sweet sweet release we all lust for. If you can’t do it fast enough, a single light will flash suggestively. Rhythmic motion is the essence of love! I’ll post a video as soon as I get my phone in the IM lab.

The hardware part of this project was pretty simple to hook up, but figuring out the software side was a little trickier. My code is messy and not very impressive. I did use some arrays, and for loops to light up 4 lights, instead of doing each one individually. This is useful because I could put in more lights, and all I’d have to do is tell my script that I have more lights, and just throw the new pin number in an array. I wonder if I can iterate over arrays directly in Arduino, like in Python…

gravity snake game/live arduino plotting using matplotlib

A video showing my project in action can be found here. This week I spent more time developing the software behind my project than the hardware. On the hardware side things are pretty simple. I took the basic Arduino we made in lab on Wednesday, plugged in a pressure sensor I found lying around, and wrote the value of the analog port to the serial monitor. I even disabled the light. I discovered that Python has two interesting characteristics that allow one to interact with an Arduino. One, it has a library, pyserial, which allows one to read values coming in from a USB port, much like the serial monitor built into the Arduino software. Two, one can plot data in real time via matplotlibContinue reading “gravity snake game/live arduino plotting using matplotlib”

Will it turn on?

The video of my project working can be found here. My board works as follows. If I press the first switch, I do not know a priori if the lights will turn on. If I press the second and the first together, the lights will turn on with 100% probability. To randomly turn on the light when the switch is activated, I create two random numbers. The Arduino documentation doesn’t say how its random numbers are distributed, but I assume that they are uniformly distributed between the min and max arguments to the random function. With the two random numbers in hand, I perform a test to see if the first is larger than the second. If it is, then the lights will turn on if the switch is activated. If not, then the lights won’t turn on. The code for my loop() function can be seen here.

Bucket activated switch

First of all, the video of my switch working can be found here. Thanks to Mariko for filming the clip. My switch works as follows. A sheet of flexible material is suspended between two level structures. This spanning piece has a wire, soldered to a piece of copper tape fixed to the bottom. Underneath this there is another structure, at a lower level than the two holding the spanning piece, which has another wire/copper combo fixed to it. When the wire on the lower structure and the flexible span meet, they complete the circuit, making the lights turn on. Instead of pressing on the flexible sheet with my body, I instead placed a bucket on top of the spanning sheet and filled it up with water until the sheet flexed enough to complete the circuit. In practice, the two structures that held the spanning sheet were two tables in the IM lab. The third, lower structure was an adjustable height chair, and the spanning piece was a sheet of translucent plastic (covered on both sides with some paper covering) I found at one end of the lab.  Below are a few close-up pictures illustrating different parts of the setup. The first shows me pressing down on the plastic spanning piece, completing the circuit. The second shows the underside of the plastic spanning piece, and the chair mounted part of the circuit. The third shows off my sick nasty soldering skills. The fourth is the circuit diagram for this project I made using this Python module.

IMG_20150904_143023

IMG_20150904_143714

IMG_20150904_152121

IM_cicuit


Same action, same outcome

Today I watched a young lady try to enter the campus center by one of the side doors on the ground floor. The door had a sign posted indicating that users should enter through the main entrance. In spite of this sign, she forged ahead, presenting her NYU ID to the reader on the left side of the door frame, pulling at the smooth metal handle. After I saw her repeat this process three times, I stopped, mostly hidden behind a concrete pillar. As I watched, she tried to get through the side door another three times, without success. Apparently prior experience and the sign were not deterrents. Eventually she admitted defeat, and calmly headed towards the main entrance. The remarkable thing about this young lady was her casual demeanor. This situation did not appear to be frustrating to her. It looked as if each card swipe was a novel experience, an independent event. Maybe getting through the door was like rolling a die and getting a one; if you don’t get one after six tries, you might as well give up.

I can understand if someone feels compelled to swipe his or her card more than one time. I often find myself doing this, thinking that the reason I was barred entrance was due to a technical malfunction. Swiping a third time is usually an act of desperation; my degree of belief that a technical malfunction could occur two times consecutively is low. A failed third attempt means that my access is restricted by a higher power. I’m aware that the card reader makes a different sound if I’ve unlocked the door or if I’m not allowed access, but the sound indicating that I’m not allowed doesn’t feel distinct enough to convince me that I heard incorrectly on the first or second try. Perhaps the girl I saw thought she was hearing the right sound, but couldn’t get through the door. Perhaps she was just absentminded. She could also be a little nuts.